Add Site
Here at Kinsta, we use Google Cloud Platform to power our high-performance WordPress hosting infrastructure. This means you have access to 35 data centers around the world when launching your WordPress site on Kinsta. In this article, you’ll learn how to add a new WordPress site in your location of choice in MyKinsta.
Add a New Site
To add a new Kinsta site, go to your WordPress Sites list, and click Add Site in the upper right corner.

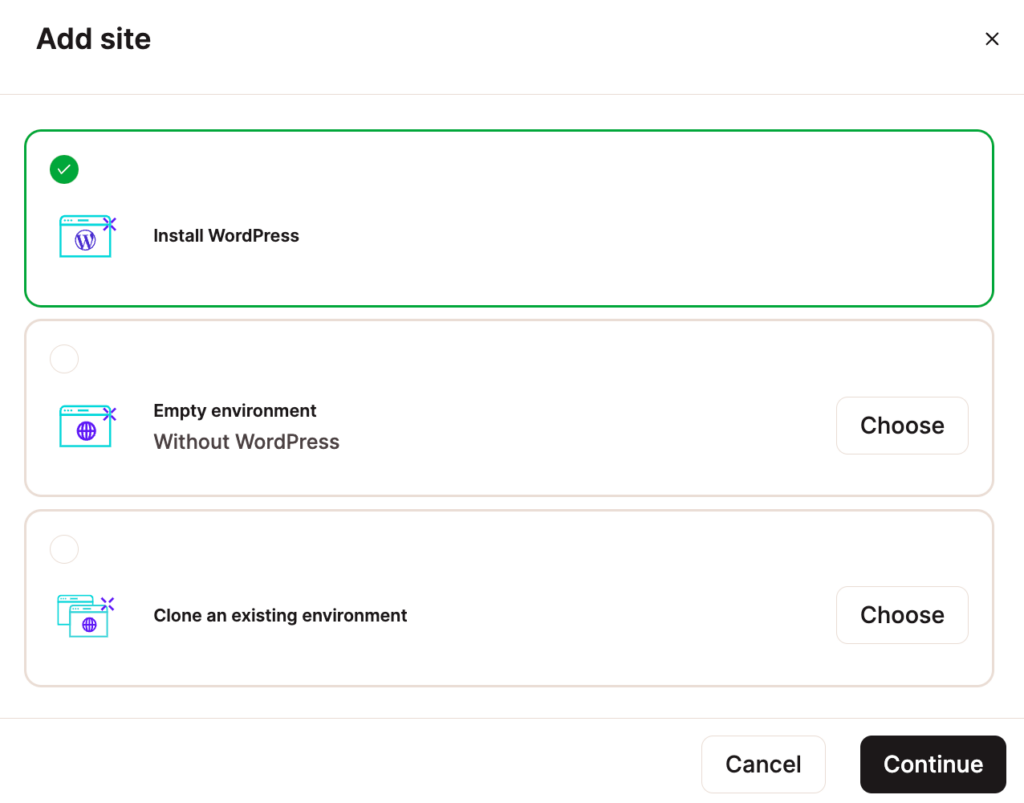
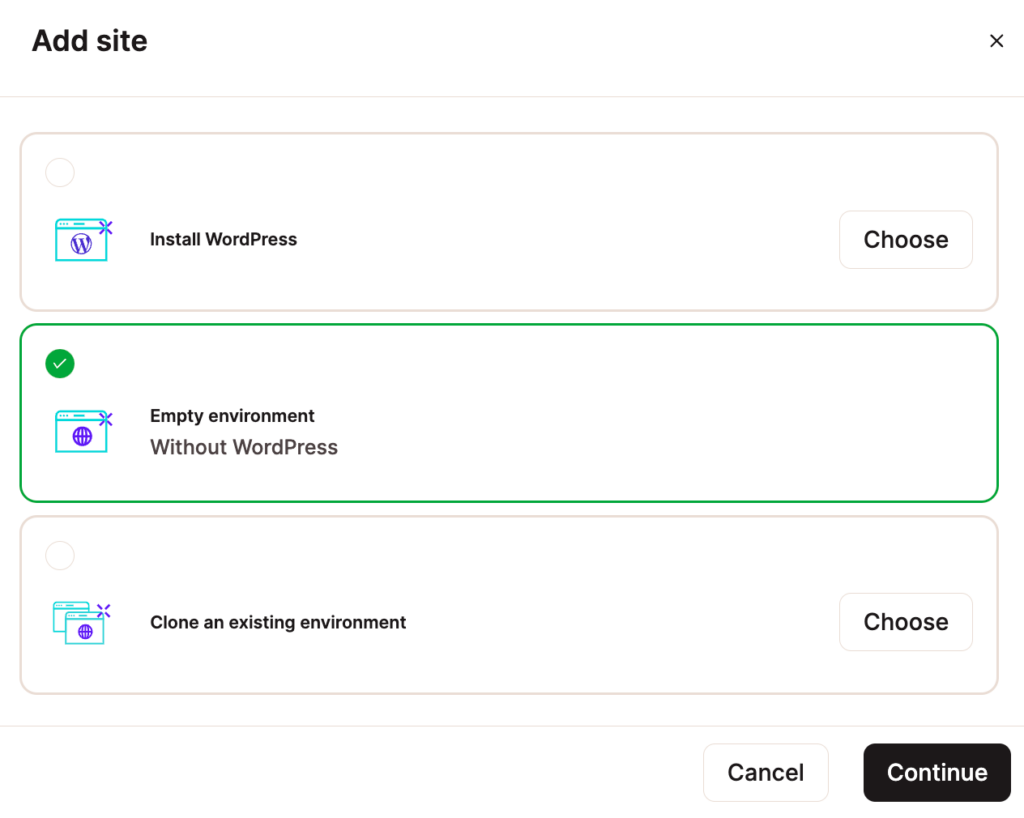
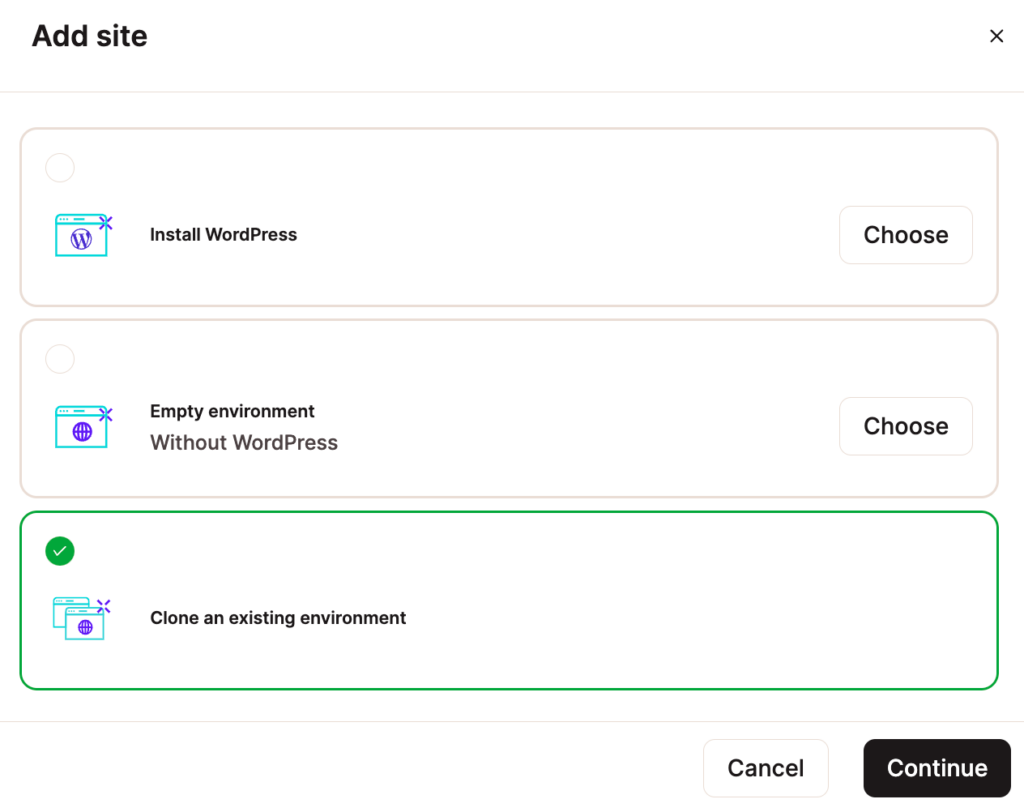
Next, you’ll be prompted to select the type of site you want to create. There are three options.

- Install WordPress: This option installs a fully functional WordPress site that is ready for you to use immediately.
- Empty environment: This option installs all the necessary software to run a WordPress site (web server, PHP, MySQL, etc.) but does not install WordPress itself. This is a good option for users migrating to Kinsta with Duplicator or setting up a Bedrock/Trellis installation with a custom file structure.
- Clone an existing environment: This option allows you to clone an existing staging or live environment to the live environment of a new site.
Make your selection and click the Continue button.
Option 1 – Install WordPress
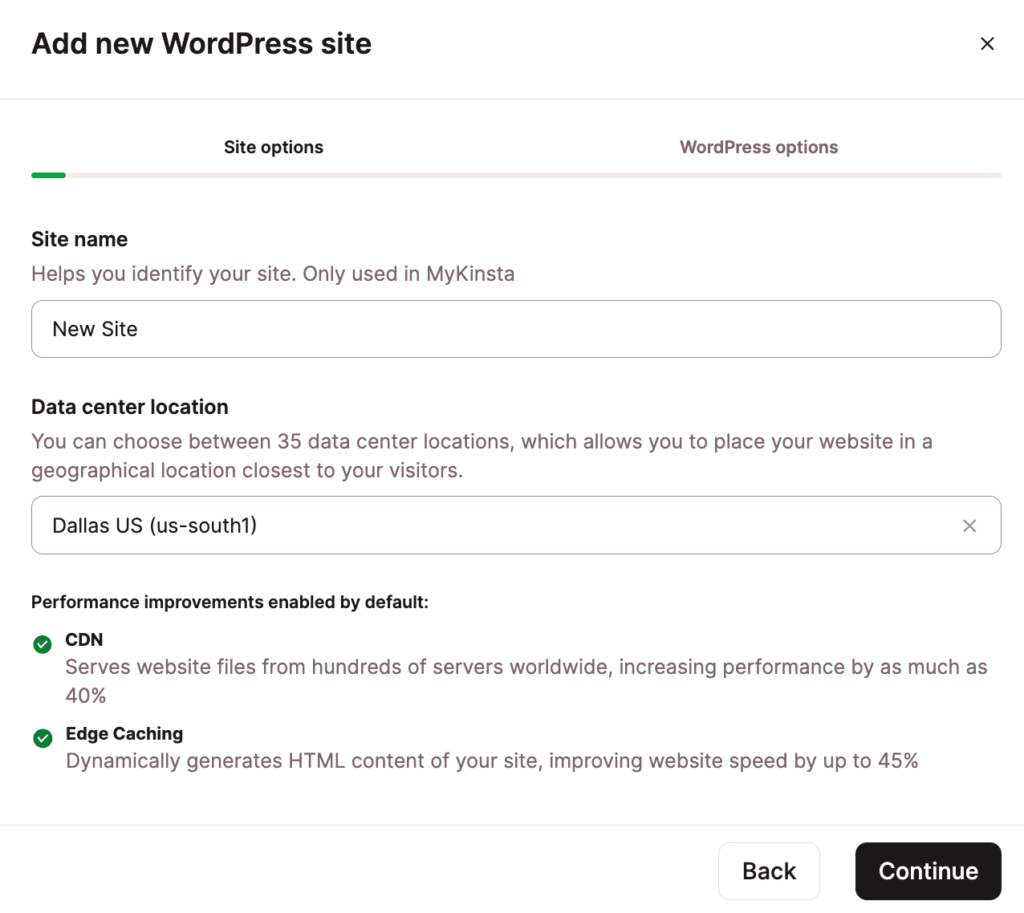
The Install WordPress option includes several fields to customize your site. Here is what you need to know about each field. Click the Continue button after you complete the fields in each modal.
Site name
The name of the site will be shown in MyKinsta but won’t be visible to your site’s visitors. This will also be used for the first part of your site’s temporary domain (sitename.kinsta.cloud).
Data center location
You can select a data center for each of your sites. This is where your data is actually stored and served from. We support 35 locations and recommend choosing a location closest to your user base as this will decrease latency, TTFB, and load times.
WordPress site title
This allows you to set the site title for your WordPress site. Depending on your theme, it will be visible to your visitors in the browser tab and other places. You can change the site title in WordPress settings after site creation.
WordPress admin username
You will use this to log in to your WordPress installation. You will be able to add additional users later on. We recommend choosing something other than “admin” for the username for maximum security.
WordPress admin password
You will use this password to log in to your installation. We automatically enforce strong passwords to protect users. You can use the generate new password option (reload icon) if you want a new one. Here’s how you can change your WordPress password later on.
WordPress admin email
WordPress uses the admin email address to send important notifications.
Select a language
Select the language you would like to use WordPress in. You don’t have to write content in the same language as your WordPress interface, so feel free to choose your native tongue, even if you are writing content in English.
Install WordPress multisite
Tick this box if you would like to create a WordPress Multisite installation. Once selected, you may choose between a Subdomain and Subdirectory install.
Install WooCommerce
If you are creating an ecommerce website, WooCommerce is the most popular ecommerce plugin out there. Check this box to install it automatically.
Install Yoast SEO
Yoast SEO is the most popular SEO plugin for WordPress, with over 3 million installs and a 5 out of 5-star rating. Check this box to install it automatically.
Install Easy Digital Downloads
If you are creating a site to sell digital products, Easy Digital Downloads is a complete eCommerce solution for selling digital products. Check this box to install it automatically.
Option 2 – Empty Environment (Without WordPress)
The Empty environment option is helpful for users who need a blank environment for Duplicator migration or custom Bedrock/Trellis installation purposes.

Site name
The name of the installation will be shown in MyKinsta but won’t be visible to your site’s visitors. This will also be used for the first part of your site’s temporary domain (sitename.kinsta.cloud).
Data center location
You can select a data center for each of your sites. This is where your data is actually stored and served from. We support 35 locations and recommend choosing a location closest to your user base as this will decrease latency, TTFB, and load times.
Option 3 – Clone an Existing Environment
The Clone an existing environment option allows you to clone a live or staging environment from an existing Kinsta site to a new site. This installation option lets you make a copy of a site without the need for complicated migration plugins.

Environment to clone
Choose an existing live or staging environment to clone.
Site name
The name of the installation will be shown in MyKinsta but won’t be visible to your site’s visitors. This will also be used for the first part of your site’s temporary domain (sitename.kinsta.cloud).
Data center location
The Data center location field is greyed out for this installation option because cloning is only possible within the same data center location. If you want to host your cloned site in a different data center, open a new chat with our Support team after the cloning process has finished, and we can move the site for you.
Completing The Process
When you reach the final modal, click the Continue button. Creating the new site will take a few minutes, and you will receive a notification in MyKinsta when it is ready.
Add a New Location
You are able to select a different location for each install/site you add. To do this, go to WordPress Sites, click Add site, and select the preferred data center in the Data center location field for your new install/site.

At this time, we have 35 global data center locations on Google Cloud Platform:
- Changhua County, Taiwan (asia-east1)
- Hong Kong (asia-east2)
- Tokyo, Japan (asia-northeast1)
- Osaka, Japan (asia-northeast2)
- Seoul, South Korea (asia-northeast3)
- Mumbai, India (asia-south1)
- Delhi, India (asia-south2)
- Jurong West, Singapore (asia-southeast1)
- Jakarta, Indonesia (asia-southeast2)
- Sydney, Australia (australia-southeast1)
- Melbourne, Australia (australia-southeast2)
- Warsaw, Poland (europe-central2)
- Hamina, Finland (europe-north1)
- Madrid, Spain (europe-southwest1)
- St. Ghislain, Belgium (europe-west1)
- London, United Kingdom (europe-west2)
- Frankfurt, Germany (europe-west3)
- Eemshaven, Netherlands (europe-west4)
- Zurich, Switzerland (europe-west6)
- Milan, Italy (europe-west8)
- Paris, France (europe-west9)
- Tel Aviv, Israel (me-west1)
- Montréal, Canada (northamerica-northeast1)
- Toronto, Canada (northamerica-northeast2)
- São Paulo, Brazil (southamerica-east1)
- Santiago, Chile (southamerica-west1)
- Council Bluffs, Iowa, USA (us-central1)
- Moncks Corner, South Carolina, USA (us-east1)
- Ashburn, Virginia, USA (us-east4)
- Columbus, Ohio, USA (us-east5)
- Dallas, Texas, USA (us-south1)
- The Dalles, Oregon, USA (us-west1)
- Los Angeles, California, USA (us-west2)
- Salt Lake City, Utah, USA (us-west3)
- Las Vegas, Nevada, USA (us-west4)